Its time for the final screenshot thread! Show us what ya got here!
Forum Announcement, Click Here to Read More From EA_Cade.
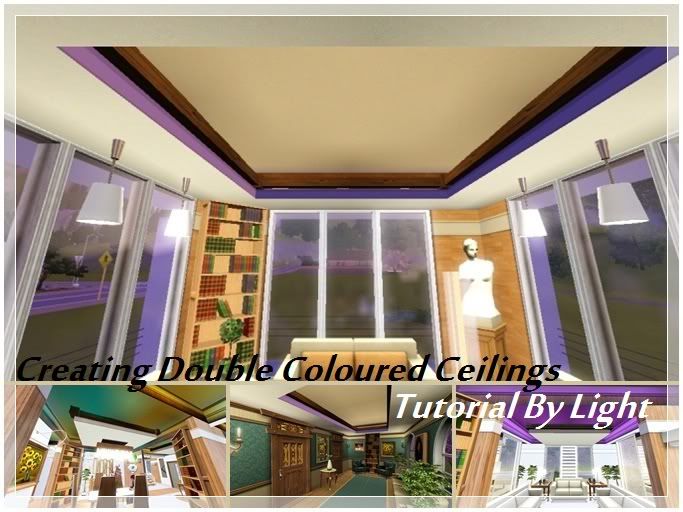
Creating Double Coloured Ceilings. A thread tutorial by ~LightSide~
 LightSide
Posts: 1,264 New Member
LightSide
Posts: 1,264 New Member
Creating Double Coloured Ceilings
Tutorial by Light
Light: Hey everyone, and welcome to the tutorial.
Mick: Boring! I hate those formal intros!
Light: Be quite you nut head!
Mick: Oh so…
Light: Zip it (Makes a silly hand movement)
Anyway, in this tutorial I will show you how to create double ceilings, with some colours as well.
Lets go through the basics of this tutorial:
1.These ceiling designs can be made in any room shape or size, but requires a minimum space of a 4x4 squares for 4 sided ceiling design, or a 2x any number to have a 1 sided ceiling design, like shown below.
2.Foundations are not necessary in creating this.
3.To make the lights coloured, a Sim should be added to the lot to set light colours. You can add a Sim after the whole lot is finished. (Thanks to Meestor mark, no sims are needed to do this, details below in the colouring section)
4.We will use two cheats in this tutorial:
-constrainfloorelevation false/true
-moveObjects on/off
(Tutorial in the next post)
Post edited by EA_Solaire on
0
Comments
--First, you must flatten your lot, as it isn’t flat as it seems. You might get building errors if not doing this. To flatten your lot, go to the “Terrain Tools” section in the build mode, and select the last option called “Flatten lot” It should do the work.
--I will take an easy example, and will make a 7x7 sized square room.
Tip: It’s always better to have your home planned before creating it, to know how the rooms will be divided, and where to create such a thing.
--Lets build the room, add the foundation first (You can do the idea without the foundation as mentioned before)
--Now add the first level design.
--Then add the second story (Make sure that the inside of the second story is identical to the first level, you can see what I mean in the picture)
--After that, go to the stairs section and on the ground add 3 stairs as shown above.
--Delete the stairs
--Add a foundation and two walls over it making two stories.
--Now open the cheat box using the key combination off (Ctrl+Shift+C) and type the cheat
Constrainfloorelevation false
--Go to the terrain tool section and select the “Level Terrain” tool
From the lowered area we created, drag the tool from lowered wall to the constructed area and so we will have a foundation like design over the first level.
--Result
--Open the cheat box again, and type the cheat
Constrainfloorelevation true
--Level the ground
--Now over the first level, add tiles, with a 3x3 empty space in the middle.
It should look like this.
--Add floor tiles on the half walls we made above, and then add a fence (You can change the fence depending on your interiors, but they should be short)
Notice: You will not be able to cover the half walls room if you add fences first.
--Now decorate the room. Add windows and things like that.
I made this design as an example.
--Let’s add lights in the foundation level. First open the cheat box and type the cheat
moveObjects on
--Go to the buy mode, click on the lighting section, then click on the outdoor lights section, and select the very first one called “Lime Lights”
--Add two lights at each corner over each other (One at 90 right, and one at 90 left, or diagonal to the middle, add it the way you wish)
--Result
--Add normal lights in your room on the main level, but don’t put it under the empty area, or it will look weird.
--Result
Now you have double ceilings with lights.
--Lets start colouring. Get a Sim to your home, and click on the “Lime Lights” in “Live Mode” then click on “Set Colour” after that choose the colour you think it may fit best, then add to the whole room, or you can have each light with a different colour. Its up to you. (Example shown above)
Edit: You can change light colors in build mode. Just hold down ctrl + shift then click on the light, and then the change color and intensity menus will pop up there too. Thank you MeestorMark for sharing this.
Tip: In the light colours area, you will find a custom colour where you can choose a colour of your own, what you can do is, select a colour in “Create-A-Style” and get its number by click on this icon “#” Then back to the custom colour, write the numbers.
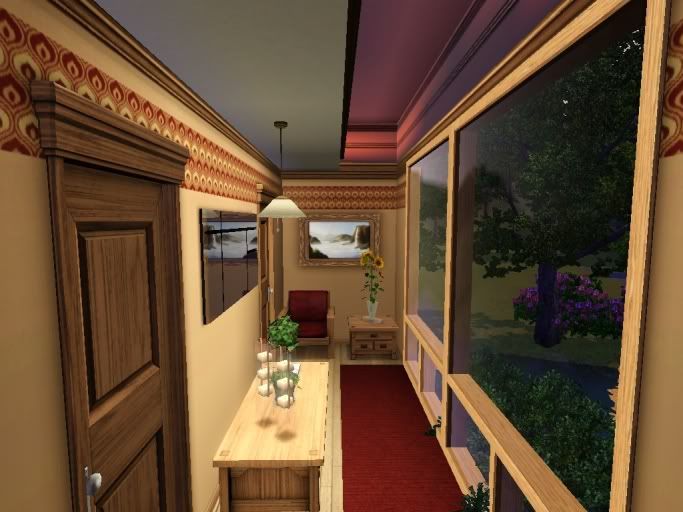
--You can also have a colour combination like this. Just change the colour of each light.
--You also have the option to make your lights brighter or dimmer. To do that, you have to first add a table lamp in the foundation level, and in “Live Mode” click on that table lamp and select “Light Intensity” and choose an intensity, and later select “This room” as you can’t specify an intensity for the “Lime Lights”
Congratulations, you now have double ceilings in your room. You will learn how to add a ceiling light in the foundation level in the next tutorial, which I don’t know when to do.
--Here are some more examples for you, hope you like them.
Red-Orange combination:
Flame colour:
Dim normal colour:
Custom colour:
Congratz, you have now made a lovely doubled ceiling room, with some colour style. You can do so many things with colours and such.
Hope you all enjoyed the tutorial, and found it useful.
Regards,
~Light~
--Credits:
I used some CC patterns here.
-Wood pattern by ginebra from TSR
-Turquoise pattern made by Murano from TSR
Edit: Sorry for not showing the colour changing details, I tried to print the screen many time, but its all a black page.
I'm so happy this tutorial is finally available because it's just an amazing idea you had. I'm pretty certain I wouldn't ever have thought about doing something like that. I'm sure many other architects will thank you for this- finally a way to make our ceilings fun instead of boring plain white!
Thanks for sharing!
Wow, Someone needs to make a nightclub with these in!
Thanks for showing and sharing!
One thing I figured out with my latest build. You can change light colors in build mode. Just hold down ctrl + shift then click on the light, and then the change color and intensity menus will pop up there too.
Alli: Thank you dear! Very pleased you liked the idea. The blended ones are my fave, I will make some more blends and add them here, thinking of blue, hehe. And yeah people will now think about night clubs more.
Lulu: Aww thank you! Its always a pleasure to share things here, so glad you liked the idea.
Mark: Thanks so much for the info, will add it, this is the first time I got to know this, lol. So glad you liked the idea.
Thank you for this tutorial
https://www.facebook.com/SuperPogimon.TheSims
Follow me on Twitter
https://twitter.com/SuperPogimon
Can't wait to see your upcoming modern.
~Light~
http://forum.thesims3.com/jforum/posts/list/121128.page#
Have fun!
MerryWiddow
Pistons: You made me blush, that is so sweet of you, I am learning to colour scheme as an artist, so it helps out a lot. Glad you liked the tutorial.
Bookmarking this for sure.
Jaded
Sparklez: So happy you find it interesting. We must invent new stuff to decrease the boredom of those white non matching ceilings. I do agree that its more a modern style, but I will try some more colours and techniques to make it look more classic. Thank you for the kind words.
Flame: Hope you found it easy. Glad you liked it as well.
jaded: lol! Hope you find it useful, though I have an idea for classical homes off having the chandeliers hanging from the upper ceiling, but needs more testing and application as well.
Linday: Thank you! Glad you liked it, btw, IO must thank you again for the spotlights from your mocha modern. Simple fab. I will be using them in future builds.
Ceilings really need to have a way to edit them, but this lighting looks awesome anyway!
Ruthy: *YAY, makes a small party for ruth for entering the forums* They were acting weird with me too Ruthy, don't worry. Thank you for the kind comment, I still have those silly uploading problems even with images, oh my how happy I am about this *Makes a face expression* lol.
Mmookie: So glad to see you, hope you are doing great, and thank you for the kind words, hopefully we will be able to edit ceilings soon.
J: Thank you for the kind comments. Its always a pleasure to share new things with the community. *Blush about the lighting skills* I aim to try my best to be creative in lighting, its one of my fave fields of work.
regards
A.
That was a very informative and very interesting tutorial! I never imagined that it was possible to colour ceilings that way! Wow! Really innovative! I have bookmarked this thread for future reference!